Buying a used asphalt paver can be a challenge. When you buy a used asphalt paver, it might look fine on the surface, but hidden problems can lead to expensive repairs. That’s why a thorough inspection is crucial before making a purchase.
To be honest there is no way you will be able to take the whole thing apart and check everything but by following these steps along the way you will gather all the information you need to make an educated decision.
With five years of experience buying, selling, and working on pavers, I’ve learned that a proper inspection takes about an hour. My approach is simple: I look for reasons to walk away.
Step 1: Ask the Right Questions
Most sellers won’t outright lie, but they might not tell you everything unless you ask. The key is knowing which questions uncover potential problems.
Who used the asphalt paver?
- If the machine was a rental, be cautious. Rental units are often pushed to their limits and may not have been properly maintained.
- A company-owned machine is usually a safer bet—they tend to receive better maintenance.
What maintenance and repairs have been done?
- Knowing past repairs helps gauge the machine’s condition.
- Recurring issues with the engine, hydraulics, or electronics can signal bigger problems down the line.
- Ask if repairs were done by a dealer or professional service—quick, cheap fixes might not last.
Why are you selling it?
- A seller’s reason for selling can tell you a lot.
- Are they upgrading? Downsizing? Or is the machine causing trouble?
- Their answer also helps you gauge their honesty and price expectations.
Step 2: Visual inspection
Now comes the real test—checking the machine yourself. The goal isn’t to find a perfect paver (used equipment will always have wear), but to ensure there are no deal-breakers.
Here’s your inspection checklist, followed by a real-life mistake I made so you don’t have to.
✅ Hopper & Conveyor System
- Check if the hopper wings are bent or the push rollers are damaged.
- Look for worn-out conveyor chains or plates.
- These aren’t deal-breakers, as they can be replaced, but you should factor them into your repair costs.
✅ Tracks & Undercarriage
- Track pads typically last 2-3 years, depending on hours and environment.
- Replacement costs can exceed €1,000, depending on where you buy and who installs them.
- Check the current condition—if the tracks are near the end of their lifespan, add that to your budget.
✅ Hydraulic System
- Open the hydraulic compartment and check for leaks or cracked hoses.
- Replacing one or two hoses isn’t a big deal, but it’s good to know in advance.
- If I see a leak and instantly know how to fix it, I don’t consider it a major issue.
✅ Engine & Cooling System
- Check for oil leaks, fuel leaks around injectors and filters, rust, or unusual noises.
- Inspect the exhaust system—excessive smoke can reveal serious problems:
- Blue smoke → Burning oil (worn piston rings or valve seals).
- Black smoke → Fuel mixture issue.
- White smoke → Coolant leaking into the combustion chamber (possible head gasket issue).
✅ Screed Plate Wear
- Screed plates are critical for achieving a smooth asphalt finish.
- Check their thickness—if less than 0.5 cm, they’ll need replacing soon.
- Uneven wear could indicate poor maintenance or issues with the machine’s leveling system.
- Replacement costs vary by model, but this is an expense to factor in.
✅ End Gates
- Ensure all screws are in place.
- Check if automation holders are installed and adjustable.
- Whether hydraulic or chain-operated, test end gate lowering and raising.
A Costly Mistake: The Spray System That Wasn’t There
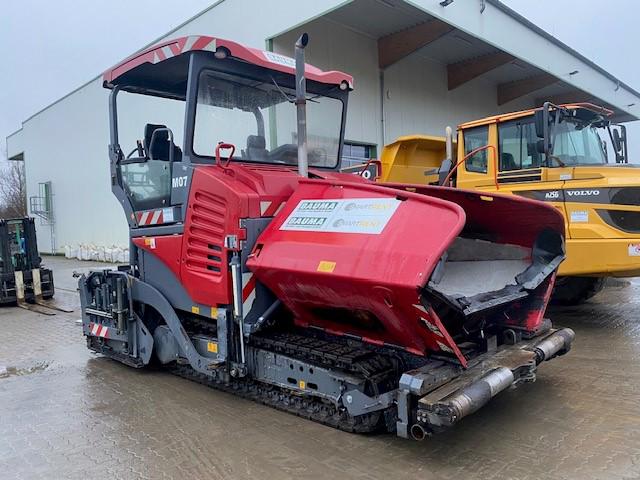
We once traveled to Germany to inspect a Vögele 1800-3i paver. The seller, Dirk, seemed like a straight shooter. After answering our questions, we got to work.
Everything checked out—the hopper looked great, tracks were recently replaced, no hydraulic leaks, and the engine sounded perfect. The seller even promised to fix a minor wiring issue before shipping.
After negotiations, we closed the deal. Two weeks later, the paver arrived. Champagne was popped, and everyone gathered to check it out.
Then, the operator walked up and asked:
❝Does this thing even have a spray system?❞
That’s when it hit me—I never checked it. I assumed every paver had one. Plus, it’s right in front of you every time you climb up to the control deck.
It wasn’t a deal-breaker, but it was an avoidable headache. The cost to install a spray system was high, so we created our own version that didn’t cost us much.
💡 Lesson learned: Never assume anything—stick to a detailed checklist. If you want to know how to build your own spray system, read this step-by-step guide.
Step 3: Start it, Heat it, Move it, Test it
Start it!
Head to the control deck and check for errors. On Vogele machines, press M1 on the Ergo Plus panel. Before starting, ask the seller not to run the machine beforehand—a cold start can reveal hidden engine problems.

Pay attention to:
✅ Hard starts, excessive cranking, or unusual noises (knocking, ticking, grinding).
✅ Excessive smoke from the exhaust.
✅ Warning lights (oil pressure, temperature, hydraulics) – they should turn off after startup.
Heat it!
Let the engine warm up and turn on the screed heating system (2. button in the image). While the machine heats up:
✅ Walk around the paver, listening for unusual noises.
✅ Check for fluid leaks (oil, hydraulic, coolant) that might appear only when the machine is warm.

Turn on the cleaning mode (3. button in the image) and extend the screed.
✅Check if the tampers are working. No matter how new the machine is the tampers won’t work in colder weather so warm up the screed and try again.
✅ Check the vibrator. The screed vibrator helps compact the asphalt before final rolling. If it’s weak (try adjusting the settings), inconsistent, or making odd noises, it could indicate a worn-out motor or electrical issues.
✅ Check the augers. Inspect for excessive wear, missing sections, or signs of uneven movement. Worn-out augers can lead to inconsistent mat thickness, affecting paving quality. However, replacement costs for parts of the augers might not be a major issue, as extensions can be taken apart and used as separate pieces instead of replacing the entire auger assembly.
✅ Check the ribs. These are part of the screed structure and help ensure smooth, even paving. Cracks or bends can affect paving quality and may indicate past impacts or stress damage. Repairing can be expensive unless you know someone who’s good at welding.
Use a thermometer to check the screed temperature across all plates—just because one works doesn’t mean they all do.
Now, if the screed heating is working, turn it off and ask the seller about automation. If the machine comes with automation, ask them to bring it so you can test it later. I would highly recommend buying a paver with automation as automation is a must have for any paving crew to work effectively.
Move it!
Drive the paver forwards and backwards, looking for:
✅ Delays, jerks, or unusual resistance.
✅ Tracking issues—Does the paver drive straight?
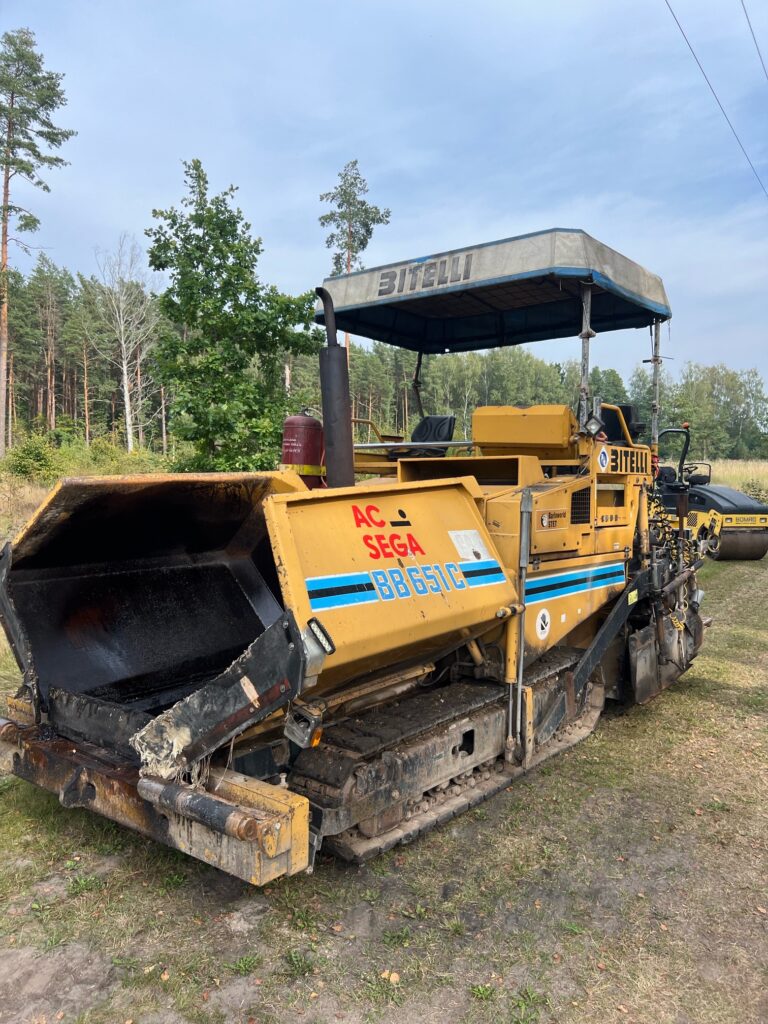
Older machines can develop hydraulic motor delays, causing them to drift or turn when moving. For example, our Bitelli BB615C had this issue—the tracks wouldn’t start and stop at the same time, causing it to veer off course. Even with the software, recalibration didn’t help. Replacing hydraulic motors is expensive, so don’t overlook this.
Test it!
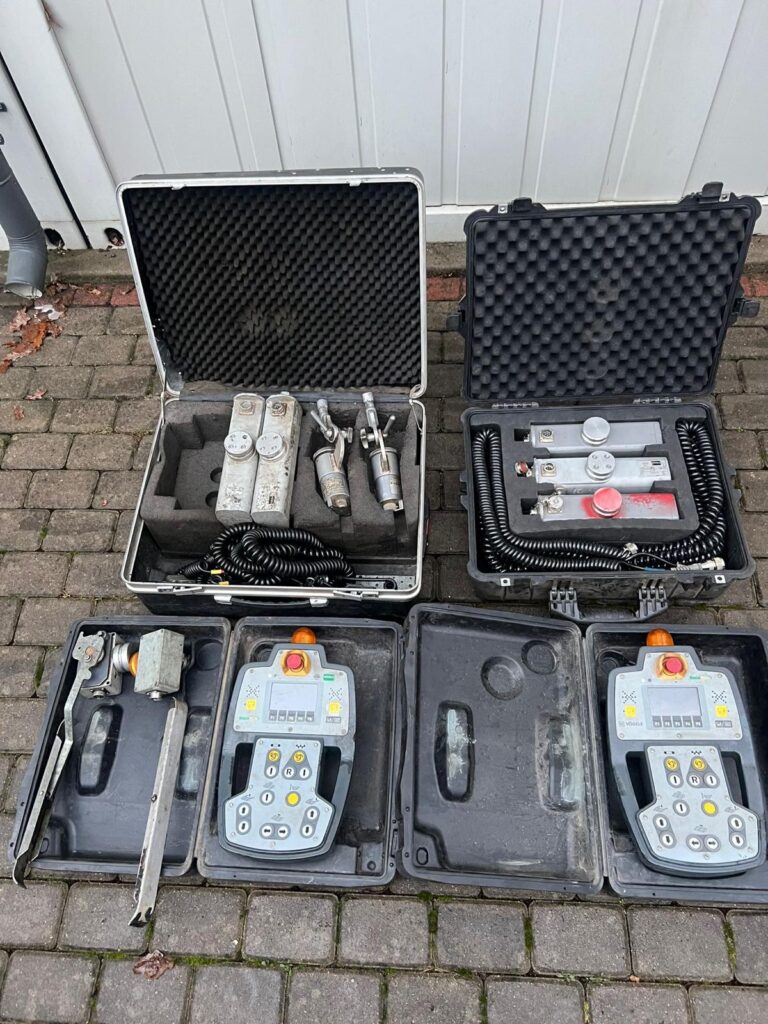
Now, test automation and sensor functionality. You don’t have to overanalyze but the basics matter—some automation components are expensive a simple cable connecting the remote to the paver costs upwards of 700Eur not to mention the sensors themselves which cost over 1500Eur per sensor. Most newer model pavers remotes cost 2000Eur.
✅ Plug in all automation components and set them up as if you’re about to pave.
✅ Lower the screed and turn on paving mode.
✅ Adjust paving thickness. Check if the tow points are changing height as expected.
✅ Test all buttons on the remote. Extend the screed, move the augers both inwards and outwards, and check if the automation responds correctly.
✅ Brake the screed. Verify if the paver can brake the screed for a two-sided slope (used for creating a crown in the middle of the road).
✅ Test grade and slope sensors. Raise and lower the sensors manually to ensure they detect changes in height and adjust the screed accordingly.
✅ Check ultrasonic sensors. Ensure they detect the reference surface and make adjustments.
✅ Observe hydraulic cylinder movement. Look for any jerking, leaks, or delays when adjusting the screed height or extensions.
By now, you should have a clear idea of whether this paver is worth the investment. I usually bring a partner along to make the inspection process smoother and faster, but realistically, it takes about an hour to check everything.
Negotiation – Finding the True Cost of the Machine
Now that you’ve inspected the machine, it’s time to calculate the real price. Many buyers focus only on the seller’s asking price, but the actual cost is:
🔹 Net Price = Seller’s Price + Estimated Repair Costs + Transportation
This is the true amount you’ll pay before the machine is ready for work. If you want to plan ahead you can use out TCO (Total cost of ownership) or Payback calculator to calculate how long it will take for the paver to pay for itself.
Negotiation Tactics That Save You Money
If the seller won’t lower the price directly, you still have options:
✅ Negotiate Transportation
Let’s say the paver costs €145,000, and transporting it (trailer + ferry) costs €1,500. If the seller has a trailer sitting in their yard, ask if they can deliver it to the ferry. They might not know the exact cost, but that’s money you won’t have to spend.
✅ Negotiate Repairs
If the machine has minor issues, ask the seller to fix one or two. Sellers are often more willing to handle repairs because they can’t easily attach a price tag to them. Plus, it saves your time and effort.
✅ Negotiate Fast Payment
Some sellers prefer quick sales. If you’re ready to pay today, use that as leverage for a €1,000–€2,000 discount.
Example of a successful negotiation:
- Saved on transportation: €600
- Got small repairs included: €500–€1,000
- Negotiated a lower price: €1,000–€2,000
🔹 Total savings: ~€3,000
If the seller won’t budge on price and isn’t willing to add value (help with repairs or transport), walk away. A better deal will come along—patience is key!
Final Thoughts: Inspect Before You Buy
Buying a used paver is all about knowing what to look for. A thorough inspection can save you thousands in repairs and help you avoid a bad deal. Take your time, ask the right questions, and if something doesn’t feel right—walk away.
Looking for a used paver? Browse our listings to find machines from verified sellers.
Leave a Reply